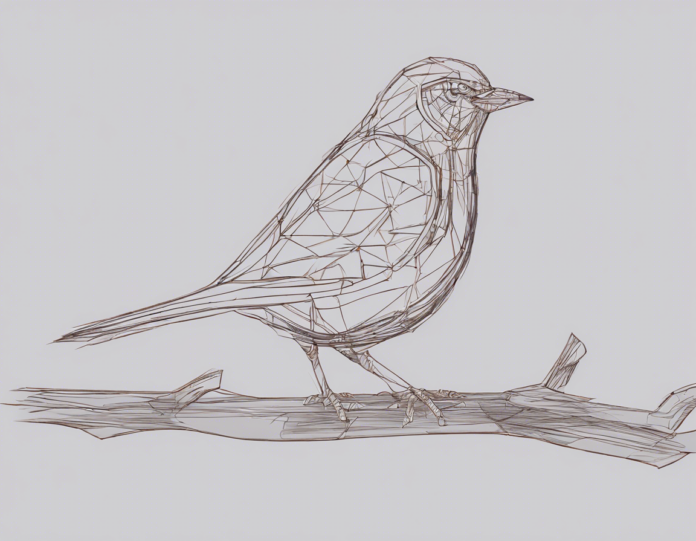
Are you looking to create a beautiful and unique bird for your art project? Crafting your own bird can be a fun and rewarding experience, allowing you to unleash your creativity and design a piece that is truly one-of-a-kind. In this comprehensive DIY guide, we will walk you through the step-by-step process of crafting the perfect bird from start to finish.
Getting Started
The first step in crafting your bird is to gather all the necessary materials. Here's what you'll need:
- Clay: Choose a clay that is easy to mold and holds its shape well.
- Sculpting Tools: Tools such as clay modeling tools, a craft knife, and sculpting brushes will come in handy.
- Wire: Use wire to create the bird's skeleton for support.
- Paints: Acrylic paints work well for painting your bird.
- Glue: A strong adhesive will be needed to secure the various parts of your bird together.
- Feathers, Beads, and other Embellishments: Get creative with different materials to add texture and detail to your bird.
Sculpting the Body
- Create the Skeleton: Start by shaping the wire into the basic structure of the bird, including the body, wings, and neck.
- Cover with Clay: Once the wire skeleton is in place, cover it with clay, shaping and molding it to form the body of the bird.
- Add Details: Use sculpting tools to add details such as feathers, beaks, and claws to the body.
Adding Wings and Tail
- Shape the Wings: Use wire and clay to shape the wings of the bird, making sure they are proportionate to the body.
- Attach the Wings: Secure the wings to the body using glue, ensuring they are symmetrical.
- Create the Tail: Shape the tail of the bird using wire and clay, and attach it to the body.
Painting and Decorating
- Base Coat: Start by painting the bird with a base coat of your chosen color.
- Add Details: Use different colors and patterns to add detail to the feathers, beak, and eyes of the bird.
- Embellish: Get creative with feathers, beads, and other embellishments to enhance the overall look of your bird.
Finishing Touches
- Sealant: Once the paint has dried, apply a sealant to protect the finish and give your bird a polished look.
- Display: Find the perfect spot to display your crafted bird, whether it's on a shelf, as a centerpiece, or as a gift for a friend.
Frequently Asked Questions (FAQs)
1. Can I use air-dry clay for crafting a bird?
Yes, air-dry clay is a great option for crafting a bird as it is easy to work with and does not require baking.
2. How can I make my bird look more realistic?
To make your bird look more realistic, study photos of real birds to understand their anatomy and color patterns. Pay attention to details such as the placement of feathers and the shape of the beak.
3. What are some creative ways to decorate my bird?
You can decorate your bird using a variety of materials such as feathers, sequins, glitter, and even small pieces of fabric. Get creative and experiment with different textures and colors.
4. How long does it take to craft a bird from start to finish?
The time it takes to craft a bird will depend on the complexity of the design and the materials used. On average, it can take anywhere from a few hours to a few days to complete a bird sculpture.
5. Can I use recycled materials for crafting a bird?
Absolutely! Using recycled materials such as cardboard, paper, and fabric can add a unique touch to your bird sculpture while also being environmentally friendly.
Crafting your own bird can be a fun and rewarding experience, allowing you to express your creativity and create a piece of art that is truly unique. Follow the steps outlined in this guide, and don't be afraid to get creative and add your own personal touches to make your bird come to life.


Recent comments